LM Doré – Little Things

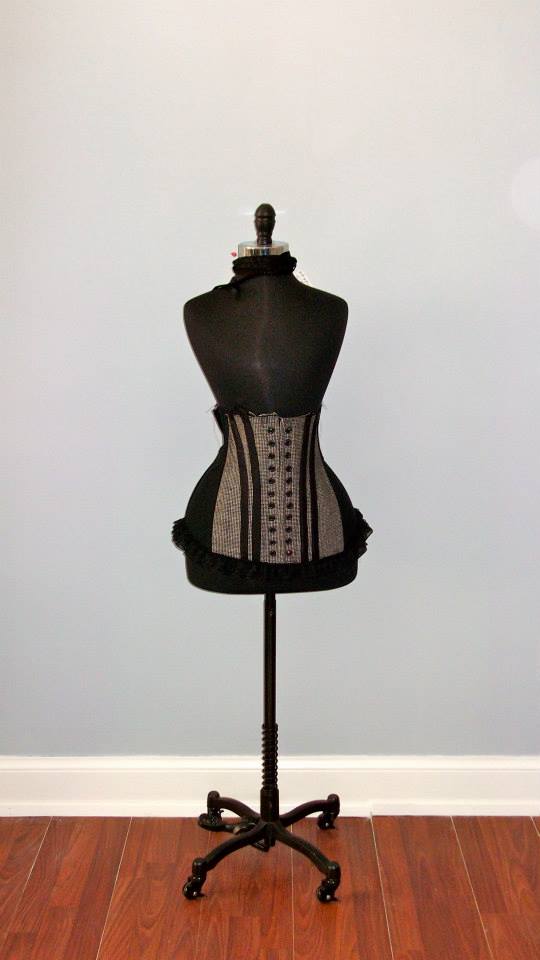
So, LM #100 – one of my very first purchased corset patterns. I remember the excitement I had when I first obtained it. As time has gone on, I’ve looked at nearly 1000+ corsets and have learned to recognize shapes and eras. I want to say that a few years ago, this corset pattern originally had a sheet of notes that you could order separately from LM. I’d still like to read that, because I’ve read that this corset was drafted from an original, and I’d like to know what the original was. After stalking everyone who has ever posted their make of the Doré, I noticed 2 things: Some people had achieved a better, over-all fit, which improved the outcome significantly, and virtually no one had strayed from the basic boning-on-the-seams presented in the pattern. The one person who had altered the boning placement achieved the best over-all look. That interested me. Why? I didn’t want to copy her, (well, yes, I did, but I chose not to.) Also, by this point, I simply hated the whole project, especially the front lines of the pattern, and wanted to throw it in a bin and declare it a fashion failure. I didn’t allow myself to do that. (Pitching a childish tantrum wouldn’t teach me anything.) I am also keenly aware that it wasn’t the pattern I dislike, but my body image issue telling me that everything I make is ugly.
At this point, I contacted Laughing Moon to inquire. JoAnn kindly got right back to me, and said she didn’t recall any such separate notes on the web site, and that many extant items have been consulted in the development of LM patterns. Hooray! Using the presumption that the Doré is close to a period copy, I started looking for historical examples. When I found them, it was apparent that boning placement often strays significantly from the simple, nearly straight, seaming. I know this is true for many historical examples, but never made the leap of faith that it should also be the case for this one. And that is when I returned to the red sateen and leather corset in the V & A.

Via the Victoria & Albert Museum, London. Used for study purposes. Red Sateen and aYellow Leather, 1883.

This corset has very similar (but not identical) seaming to the Doré, ([possibly] only 5 panels, relatively straight seaming, no gussets) but the external, yellow leather bone casings face and reinforce what may well be internal (not external, as it appears) bones, creating a visually stunning contrast corset. And that was my A-ha Moment: in the case of the Doré, the boning placement is important to establish the look of the over-all item, and save my project from disappointment. In the V & A corset, I’d found a gorgeous precedent. That made me very happy.

Salen:1860 Complete

IMG_20200321_182020_963

Notes Upon Completion

Drafting  – I hand-drafted this corset using my measurements and the pattern on P. 44 & 45 of Corsets: Historical Patterns & Techniques (Salen:2008.) When doing so, remember to mark the waistline and underbust lines where these fall on your body. I didn’t, and was slightly at a loss when counting stitches for the placement of the bust tapering. Transfer the waist line marking to all pieces, preferably both the front and back edges of each piece, in the seam allowances, as a guide for getting them aligned when basting. Since my waist is actually a tilted ellipse, higher in the back than the front, I will admit I haven’t figured out how to address this in paper drafting. (Note: Jill Salen wrote to let me know to move on into the modern world by draping. lol.) If you read my previous entries regarding this build, you might recall that initially I was going to add a sixth piece to give me a larger fit. When it came time to put pencil to paper,  I decided on creating the pattern exactly as presented in the book, instead. This necessitated adding substantial inches to the hip area to fit my derriere, but I’m so glad I stuck as close as possible to the pattern. Doing so resulted in a garment that finally gave me the shape I’d been chasing for years, and also allowed me to embrace my own, natural curves. It was my measurements plus sticking to the pattern that gave me what I wanted. I did not set out to create this particular hippy shape. The goal was to build as close as possible to the historical pattern, while making something that fit my body. I actually surprised myself.
IMG_20200321_180207_400

Construction – During assembly, all pieces folded nicely together in pinning and basting except the bust curve. To accommodate my DD bust, I’d added a significant curve to the inner edge of Piece 2. I tried to distribute the curve across both Pieces 1 and 2, but they didn’t ease very nicely into each other, creating a weird, jutting bump in the bust area, and I ended up lopping 1 full inch of curve (tapered out) from off of Piece 2 before I molded it to back to Piece 1. I thought this would make the bust extremely small, but it ended up creating the “negative ease” I’ve read about that’s required to fit shape-wear. The result made the corset substantially more supportive and comfortable. Probably the most un-professional way of creating it, but I’m just going to file it under “fitting”.

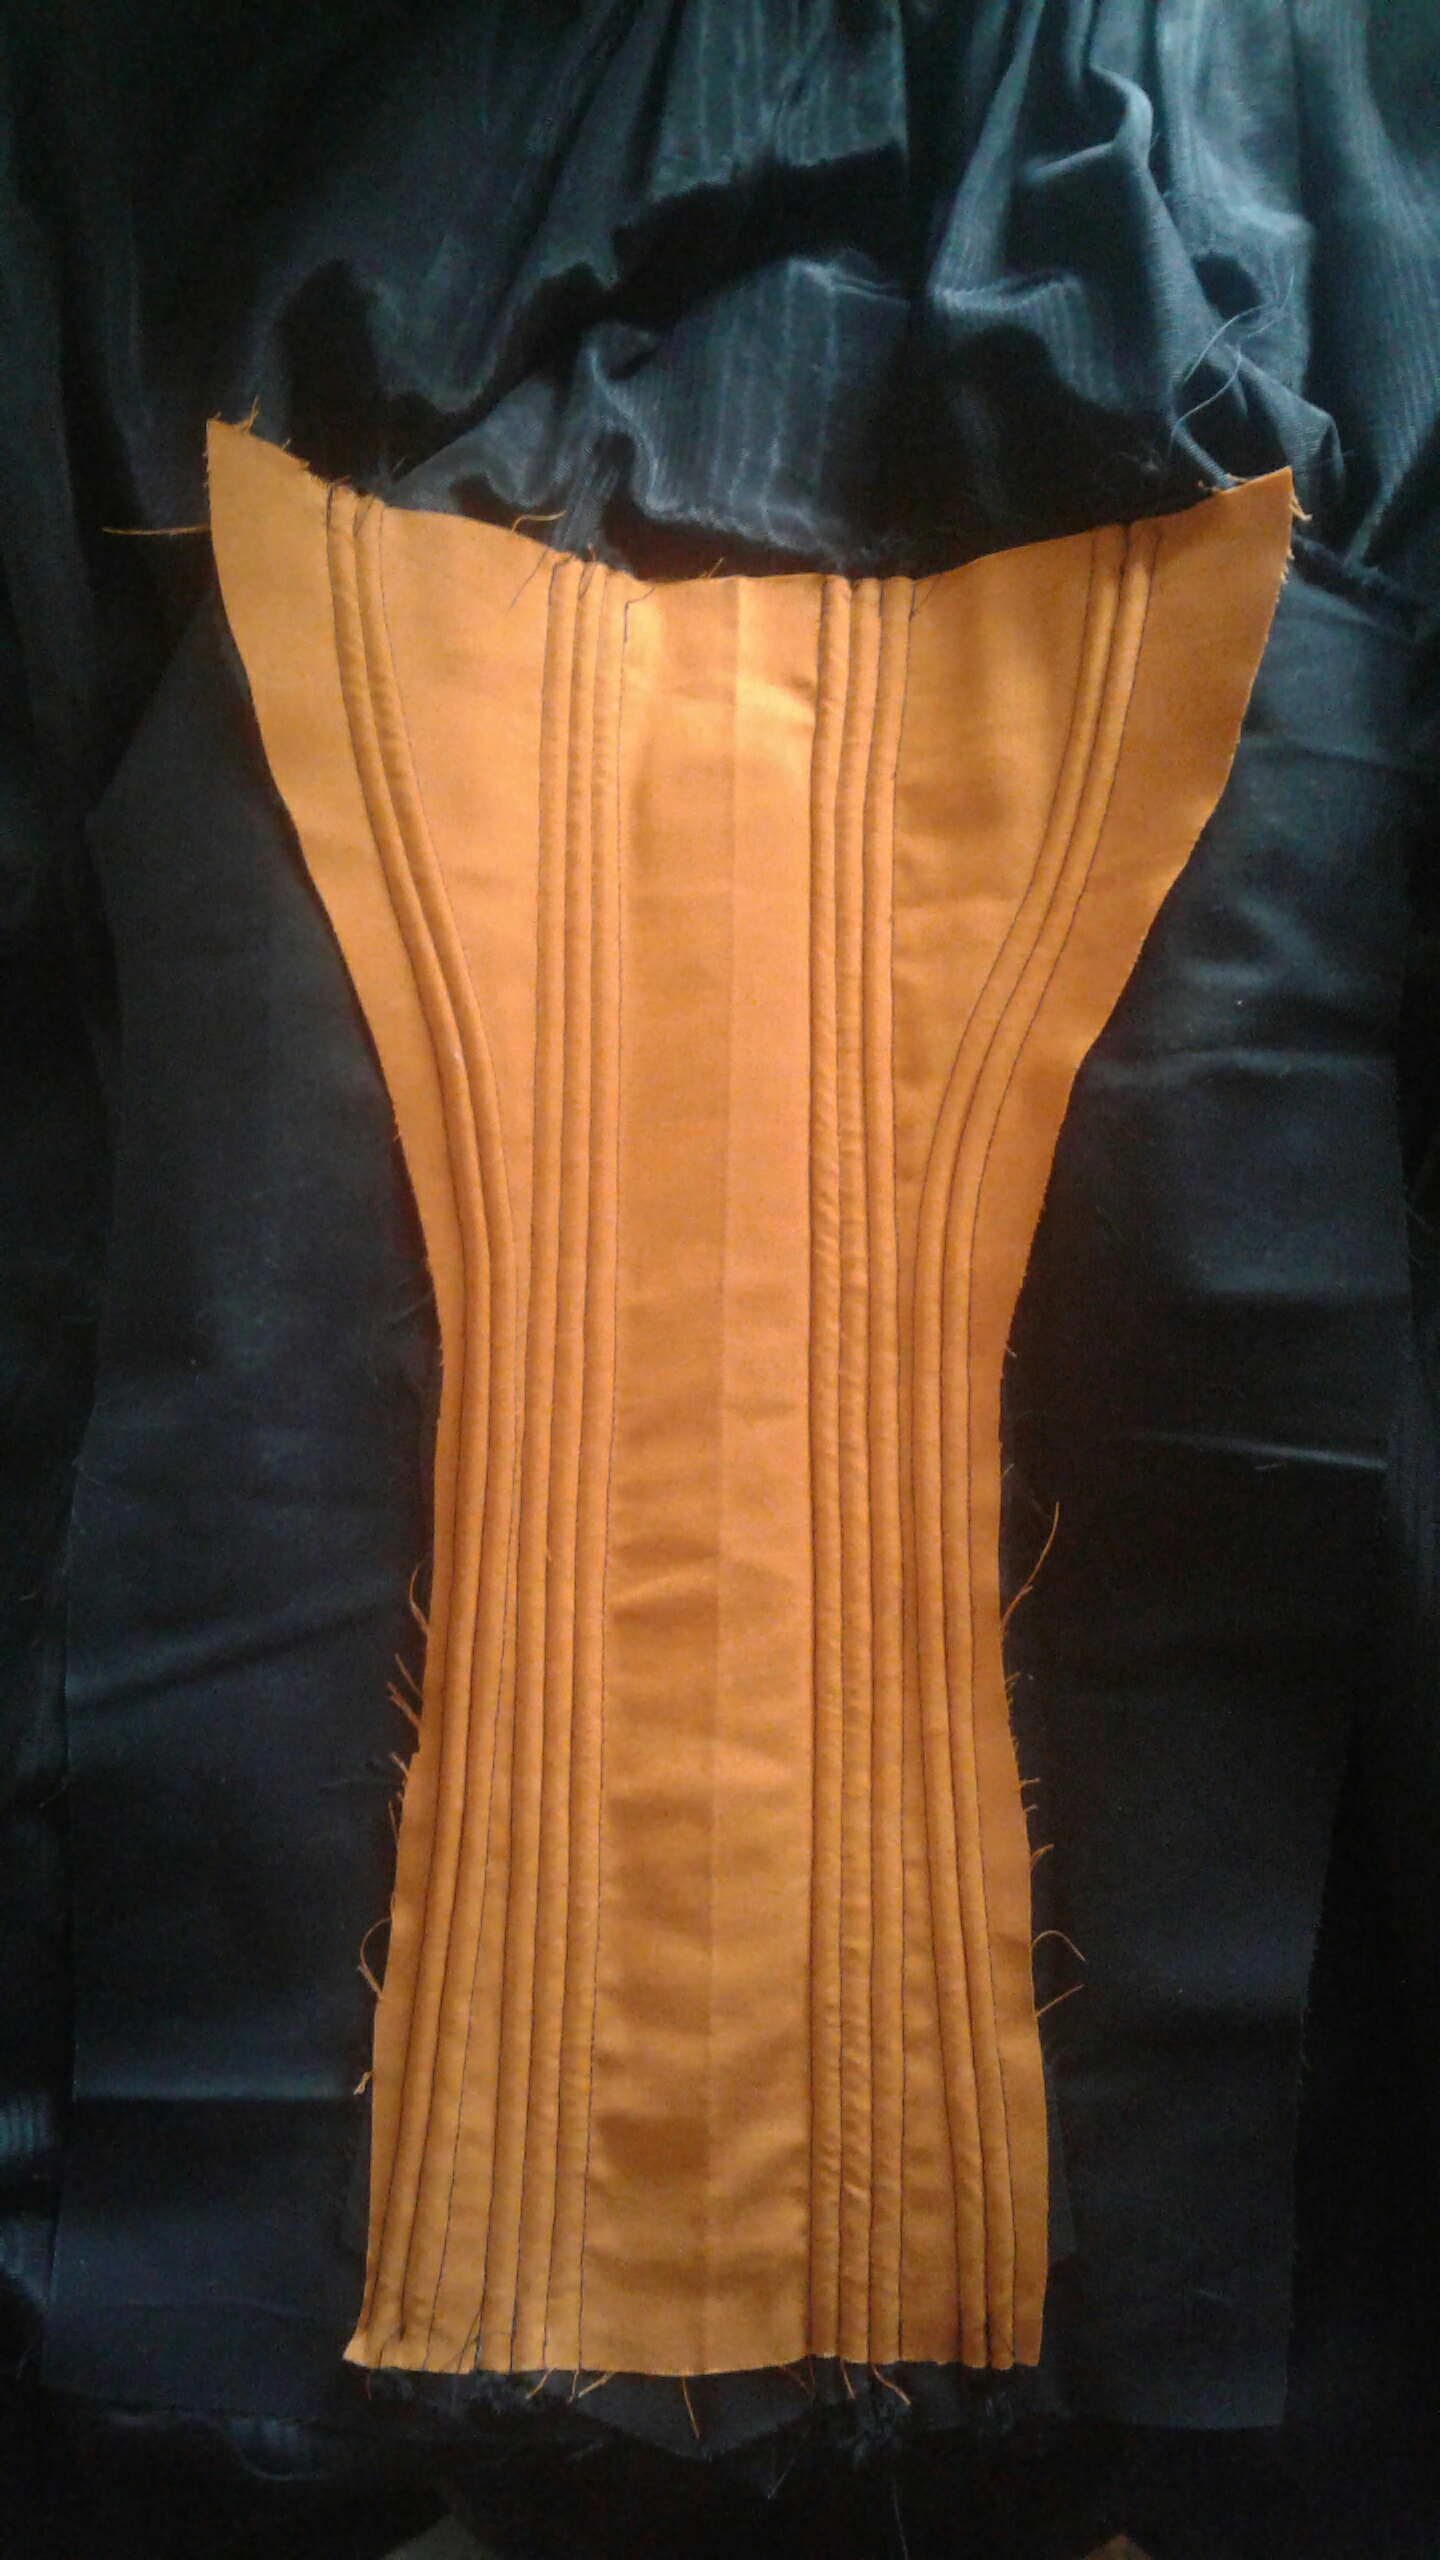
I use heavy cording which I purchase by the spoolful at a local thrift store. It is uniform in width, 100% cotton and comes in black at a very low cost.  I used a lot of cording, probably 1/2 – 2/3’s of the spool in just this corset. I use black for darker and colored corsets, and white or ivory for lighter in color work. I hate seeing cording or bones peeping through the weave of a fabric. This corset is 3 layers: a quilting cotton outer layer, a coutil mid-layer and a twill lining. The cord is tucked in between the coutil and the twill layers. I didn’t lose very much fabric in cording. In the test run, I detected 0 loss, and I’d been expecting about a 1 inch loss to each piece. In the end, I noted that there was about a 1/4″ loss to each piece, which resulted in a waistline that was a bit too small. I’d cut for 30″, and ended at just over 28″. I really worked on a piecing accuracy of 1-2 mm, but honestly, in corsetry, even that proves too much, over the course of so many pieces. I’m improving with each one I make, but it can be nerve-racking.

I believe I used cording very close to the original because my Piece 1 was nearly spot-on upon completion, even with the little busk casing snafu. (I’d measured the busk cover very carefully, even accommodating the 2.5 mm depth of the wooden busk, itself, and initially was very happy with the placement, but after I ran cording up against it, one side was uneven for a reason I still can’t work out, and I ended up needing to run one cord over the edge of the busk casing to make everything even on the outside.)

After Piece 1, the cording placement changed because of the size grading I had to do. I used the pictures in the book as a guide, and gave every effort to keep as close to original as possible. I packed the cording as best I could into the waist, and the channels naturally taper out, top and bottom. I especially like the look of heavy cording. I machined the cording rather than hand-pulled. I have an extra-long zipper foot and use a metal chop stick to pre-press the tension in as it goes under the long foot. Although I did try the hand-pulled cording, as described in the text, I was unsuccessful. Any time I managed to struggle a cord through a channel, it never looked tidy, but most often, the thread broke before I’d pulled to the opposite end, and when I switched to heavy linen thread,  I simply lost the cord in the center before I reached the other side. This might be alleviated by creating slightly wider channels, but I wasn’t willing to give up the tightly corded look.

There was one area that creating channels that were not uniform to the other, even though I fought for it. The cording is run right up to the seam allowances, which meant I used the long zipper foot for seams, as well. Then, I had a ton of seam allowance left, which I trimmed. But still the seam allowance would run into the next cord. In the end, I used the seam allowance, itself, as the first cord for each piece. This created a channel that was at least 1mm larger than the actual corded channels, but if one studies the pictures, I believe the original corset might have used the seam allowance, as well, because it looks like each first channel butted against a seam is ever-so-slightly wider. It was the only solution I arrived at, as the cord against the seam allowance was an unsightly impossibility. I accepted it with joy, as it saved a lot of time and frustration.

Because I machine cord, it left a quandary of how to finish the last piece. I pre-set my grommets and did all the cording for piece 5, which meant I had to attach them, not as a sandwich, but with facing right sides together, leaving a raw seam on the interior. I knew I had to cover it, but couldn’t top-stitch, due to the cording. In the end, I figured out that I needed to hand-tack the twill tape over the edge. This area is one thing I’d like to see in person: how was this thing finally closed?
20190822_115057

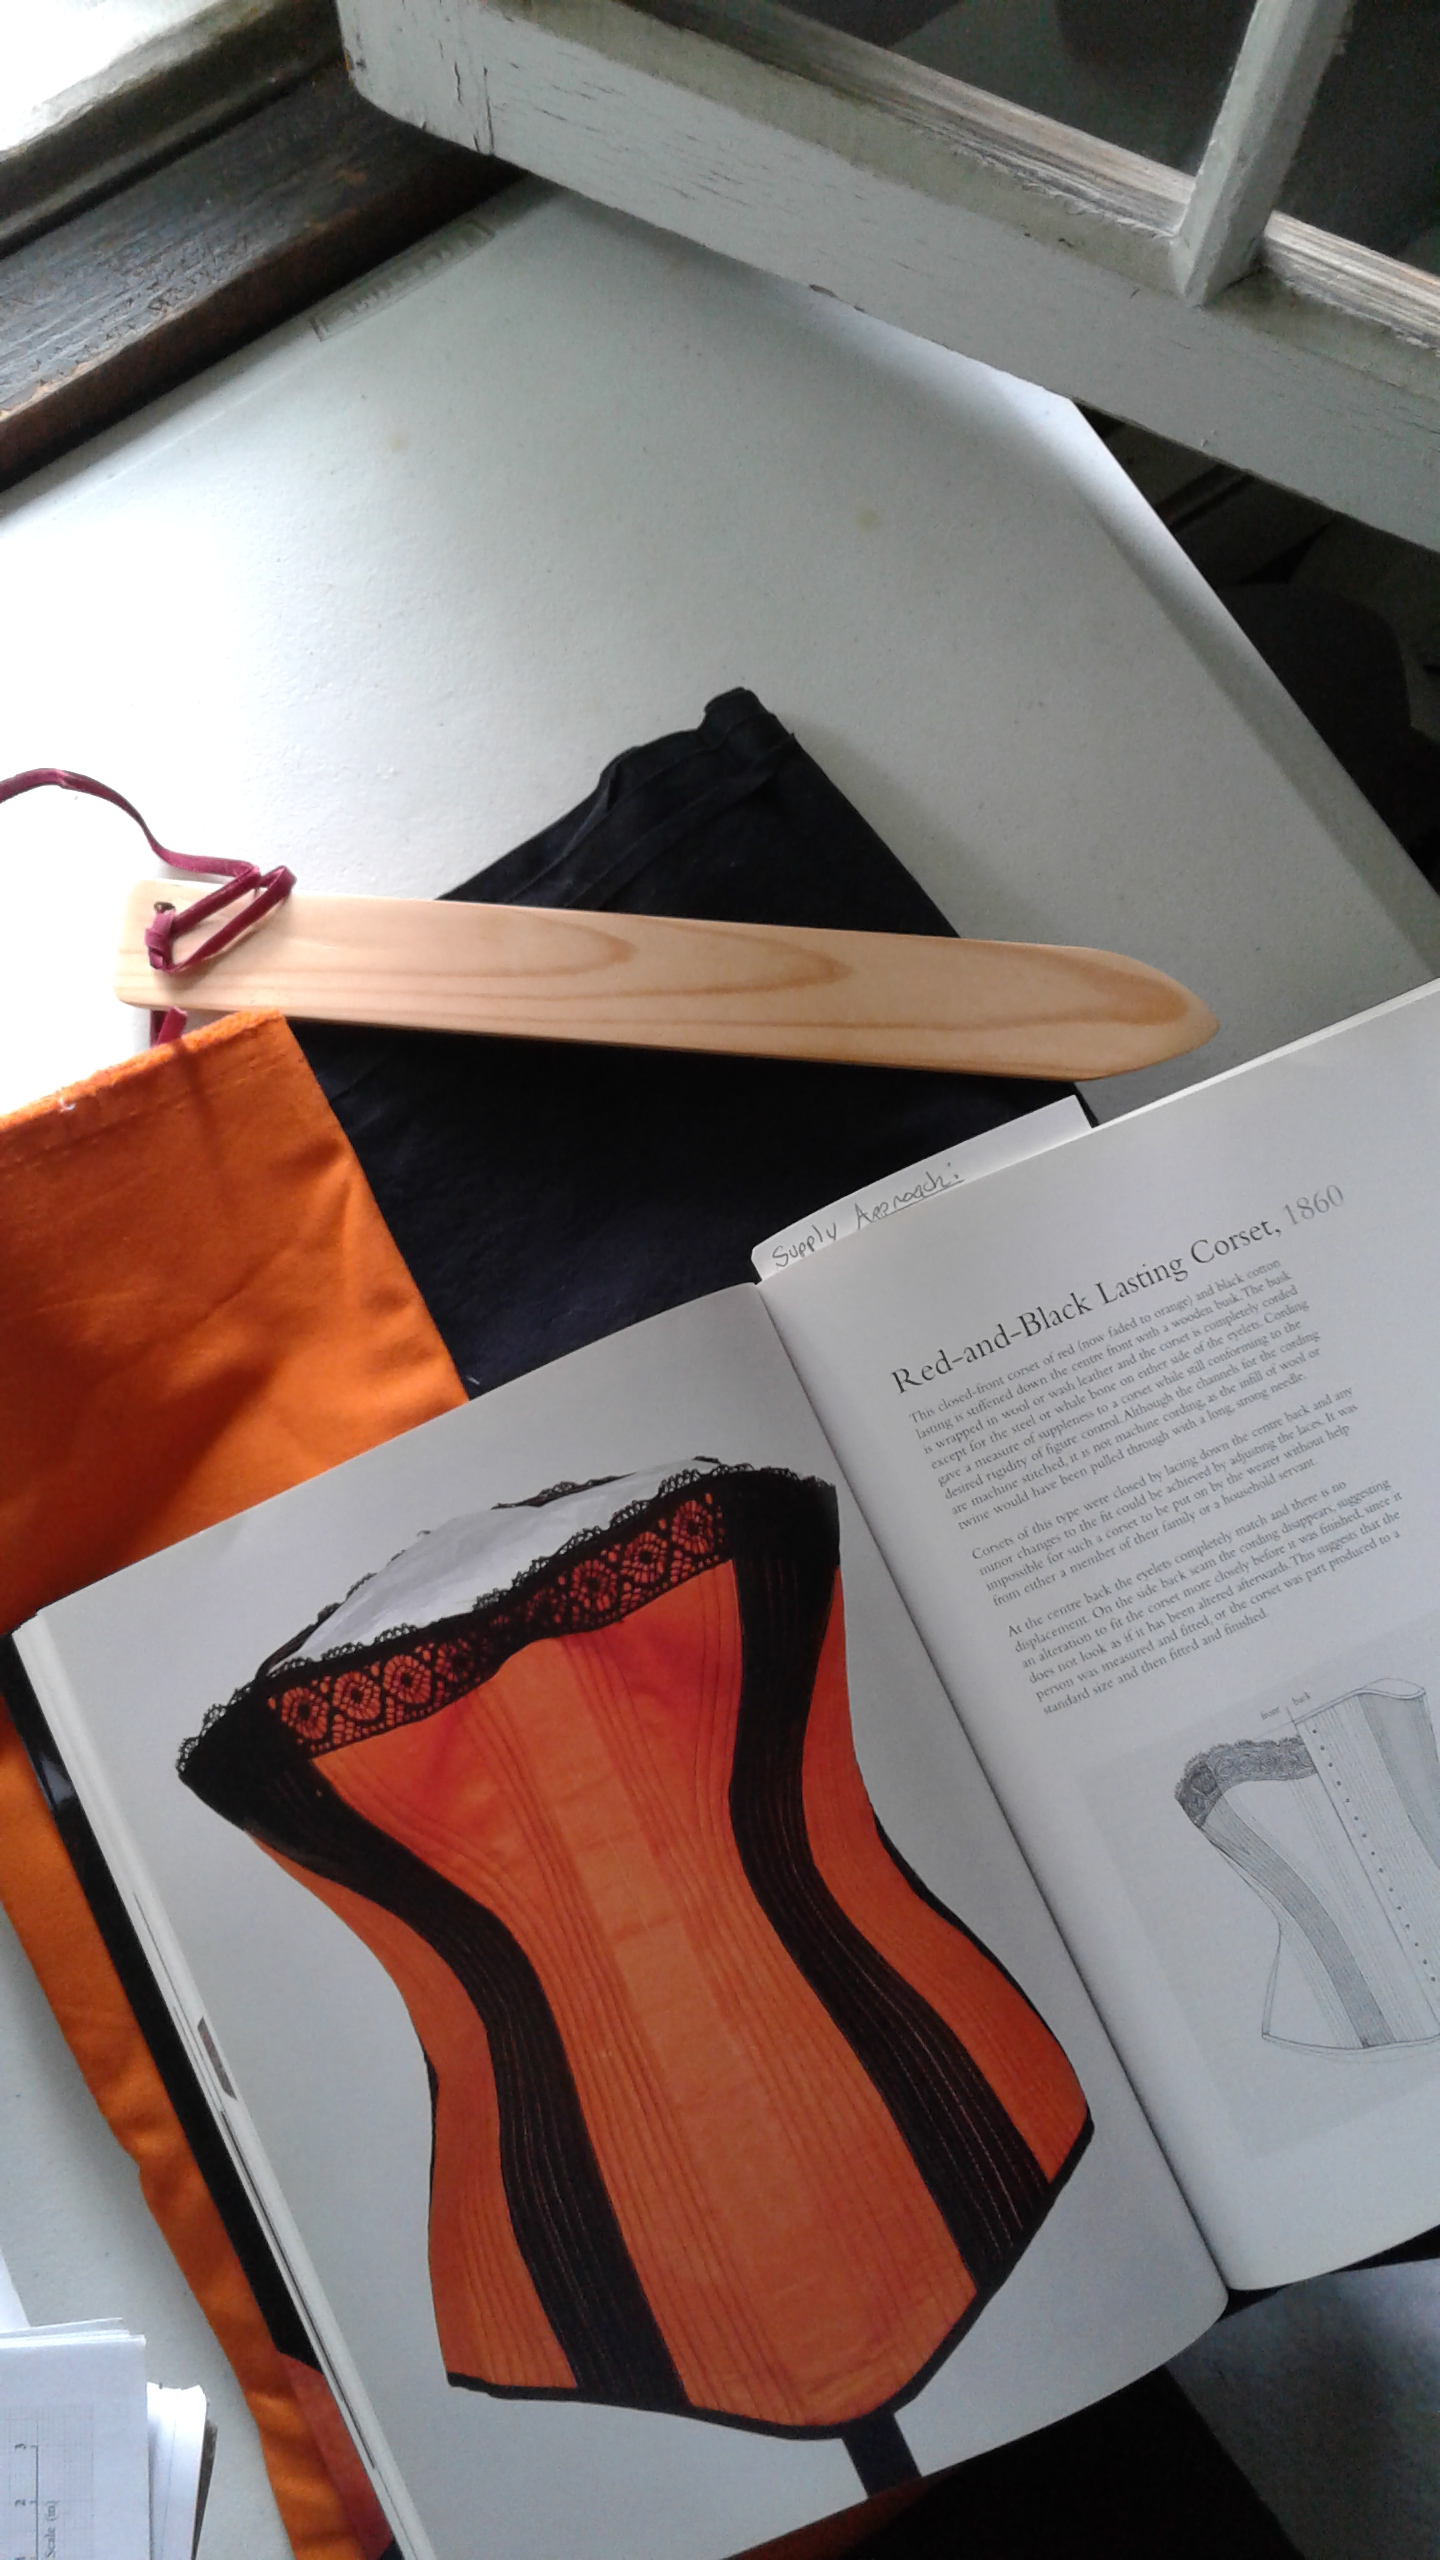
The Busk – My busk was made for me out of a mid-west hardwood by my step-father. In 2007 -08, there weren’t really any wooden busks available, and I asked him to make a prototype. He made one and sent it to me, and we were set to make a small production, but he passed away shortly, before that could happen. I carried that prototype around to make a pair of stays, but have used it here, instead.  The busk has holes in the top, to tie the ribbon through, to keep the busk in place, or from riding up during wear. I think they were most often placed in the bottom, but I want to say I’ve seen both. The busk casing is made from coutil, and I inserted two black eyelets to pull the ribbon through and keep the attachment temporary.

20200320_144618

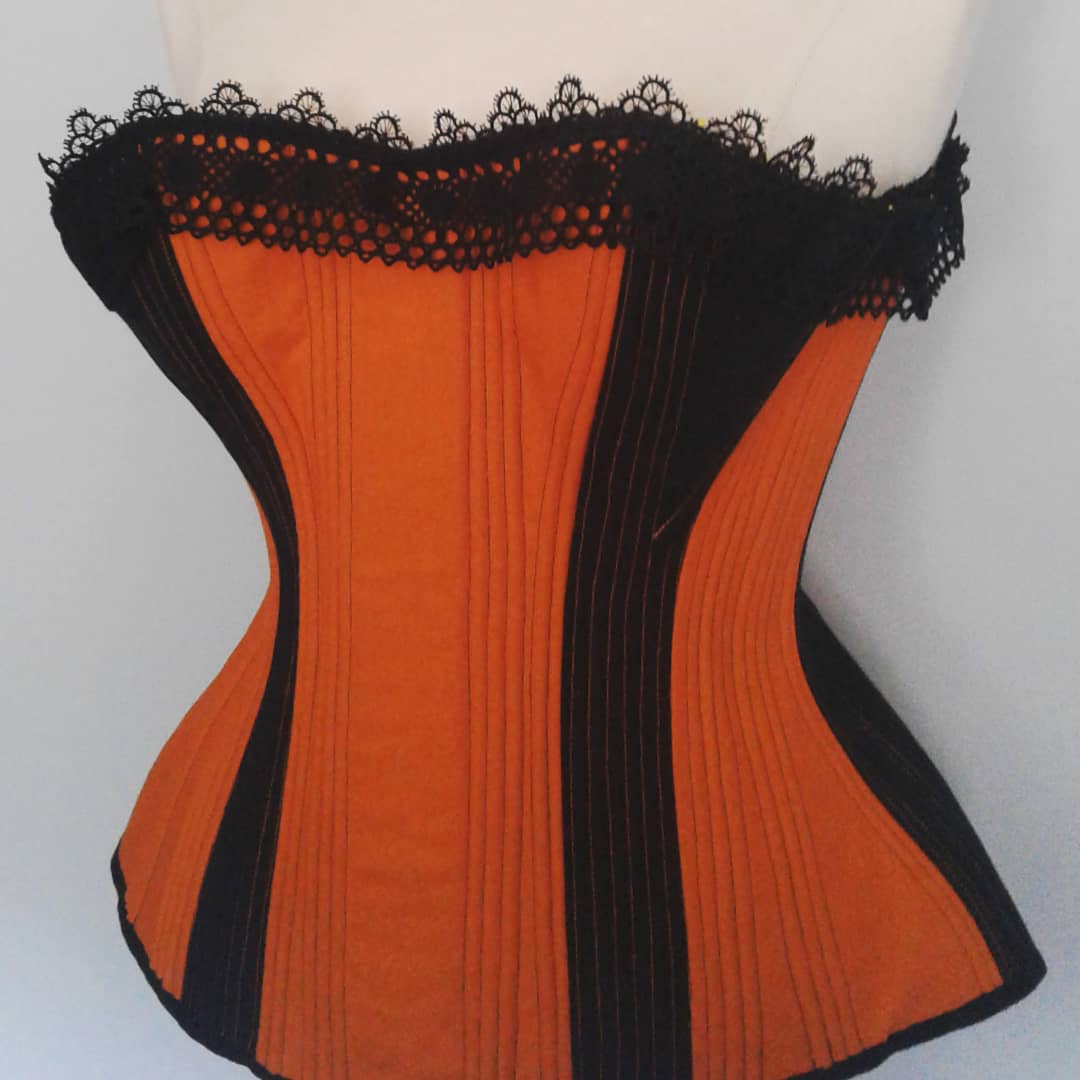
Trim – I had such a good time hunting for the lace! I found the wheel-shaped lace, as close to original as possible, but it doesn’t have the little scalloped edge that the lace in the pictures has. When I really, really looked, I figured, maybe the original had a smaller, black lace run over the top, or behind the the larger one. So, I found even more and fancier lace, and used it. I love the result. Also, when stitching it on, it puckers over the bust, but they’d solved that, too, by almost invisibly hand-tacking it down to the first, and possibly the last, or outer, cording channels, in the ditch. I’m pretty sure that’s what I see in the pictures, and if not, it’s brilliant, so do it!

Imperfections – There are a few. I’m 2mm off in some piecing and channeling areas. I don’t care for my 100% hand-stitched lower binding. I machined the top binding, then hand-tacked, and it looks much neater, but no one will ever see because now it’s covered with two layers of black lace.

IMG_20200226_204611_610

Weird Surprise – I don’t advocate for reversible corsets at all, they are shaped for a reason, and they conform, in one direction, wrapped around the body. While I did strive for an intentionally neat interior, I was not aiming to make anything reversible. Yet, when I wrapped the corset around the dress form, I could see that I might actually be able to reverse-lace to the black lining. It’s just as handsome on the inside, so I very possibly ended up with two corsets for the work of four! er, I mean, one!

Conclusion – Over all, this corset with it’s contrasting channels and cording was a little more challenging than it initially appears. It’s not difficult, per se, but it is very fussy. Focusing, it took me 6 months, start to finish, working around my job, a death (in someone else’s family), a re-do of the sewing space from floor boards to wall paint, holidays, 2 new jobs, 2 job losses, catching cold 3 times, 100+ hours of Brian Jonestown Massacre, live, and a world pandemic apocalypse.

IMG_20200321_182020_963


When You See It…

20191005_131413

I’ve had Salen’s book since it first came out, and studied the cover corset and it’s entry in the book quite often. I’ve started building it, as is, and even stayed off my intent to create it with six panels instead of five, as my desire to keep it as close to the original as possible won out over any win I might have obtained with a 6-panel fit. One evening, I had the book open to one side of my desk as I was staring at the channels I’d run so far. Something caught me eye, and suddenly, I knew what it was about this corset that attracted me to it more than anything, and it’s subtle, to me anyway, and this is it: The lines of Panel 2 are cut straight, according to the diagram. Yet, in the interior picture of the extant corset, they are sinuous, curving up and around the bust, and narrowing at the waist. I wondered if it’s just the placement on the waist that creates that effect, or is it something else? I thought I”d have to build a small version to explore it, or perhaps I’d missed some nuance in drafting? I also realized that, to me, these lines look absolutely Art Nouveau. Except this corset is dated 1860.

The Art Nouveau period is most often associated with the 1890’s, but when did it actually start? What prompted it? William Morris and Phillip Webb built Red House and that seems to be one epicenter for movement. The house was completed in 1860. (Source: Wikipedia) However, influences go back to Japanese silk designs and paintings, Whistler’s paintings, William Blake’s illustrations. (In The Nouveau Style, Haslam: 1989.). The botanists of the 19th c. were busy capturing protozoa and plant-forms in order to flesh out their studies, and a natural, swirling essence start to permeate design across all genres from the mid-19th century forward, right up to present day.

So this 1860 English corded corset with it straight-cut Panel 2 embraces the female form by way of the cording that wraps the bust, splaying out in a mock-gusset on Panels 1 and 2, and then Panel 2 forms to the waist, being pulled into the body by the seam of Panel 3. It appears to sweep back out again at the upper hips, but only because the straight cut has been released again and pushed forward by the hip’s spring. The actual curling of its form into the body is an illusion; most likely, just a happy accident. It’s magical, and I love that!

1860: Panel 1 Complete

20190907_142855

I have finished cording Panel 1 of Salen 1860. While staring at the picture in the book, I noticed a couple of things. The first is that the next panel attaches to the first by sandwich method, (thanks to Sidney Eileen for that note, hers is an earlier corset example, but I’m going with it) hoever, once the panels are attached, a separate row of stitching runs down the outside of the seam at a smaller stitch-length. This serves 2 purposes: the main one is to create a place for the next row of cording to butt up against. You could lay the cording right against the seam, I suppose, and that is what I thought I’d do until I studied the picture. But I think that the cording will lay nicer if it actually begins with it’s own channel. In any case, that seems to be the historical precedent seen here. The secondary reason for the extra stitching line is to give some re-enforcement to the seam.

The other, less important, thing I noticed is that the corset in the book doesn’t really have contrast stitching the way I’ve perceived it. The original work was red, and red thread was used on the red, as well as the black panels. The red fabric faded to orange, and I thought the thread on the center front panel was black all these years, and that alternate red/black threads had been used on the red and black panels. That is not the case, I believe it’s just red throughout, but I’m going ahead with my alternate orange/black contrast stitching because – pretty!

I have chosen to machine cord, so far, so good. The seam allowances are a tad small on one side due to the cording, but I think I’ll be able to account for it by strong hand-basting prior to running the seam.

Here’s a mystery: When I searched corset patterns at the Symington Collection, looking for this one, I found this one, dated 1897-98, with a spoon busk as the main difference that I can see. The flossing colors are noted at red, black and green, as possibilities? production notes? I don’t know.


Preliminary Notes: Salen 1860

Salen Red (Orange) and Black Lasting Corset, 1860 

20190822_134521

It’s on!! Summer is finally turning into Fall and I can’t wait! I’ve had this fabric to make this corset for ages, (uh, 6 years??) and am going to incorporate it into my larger 31 Days of Halloween project.

Initially, I liked this corset quite a bit, but six years, (or 149 years, if we’re counting) is a long time to sit with a pattern, and so much has changed. I think that modern corset makers are taking the art to a vast, new level, and the last we witnessed this over-all high level of skill in corset production was probably the 1890’s. The shapes, lines, details, decorations, and especially the smoothness of execution and fit are leading to a beauty before reserved for exclusive makers such as the likes of Mr. Pearl. So, bravo to Foundations Revealed, the mentors and the makers who are leading the pack.

But where does that leave an 1860’s corset?

20190822_115137

To my eye, this one now looks rather dumpy. In reading the description, I had to look up “lasting”, which turns out to mean “strong cotton”, not high-end coutil. And what is “wash-leather”? That is actually chamois leather, used for washing cars and dusting. The busk is wooden, (not whalebone, not steel) and the heavy crochet lace also looks mundane. The center piece, which could have been cut on the fold, even back in the day, also points to make-do-and-mend: it hosts a center seam, tidy, but dull. That brings me to shape: oh, dear! Why is this so frumpy? The answer is again, in the construction. There are no steels or whalebones holding the fabric up, it’s all corded save for the support of the back eyelets. Then, the cording is hand-pulled, not machined in, and I’m wondering if that is also a reason for the overall droopiness. I may be knit-picking, because on the surface, I love this corset, and Salen even chose to have it as the book cover! But I also know that if I showed up to an event in this corded number, with no support, and other ladies were in silk, spot broche, smooth steel and German synthetic, I’d feel sad, and probably go home. I’ve made that mistake in my life one too many times. This corset is clearly a country bumpkin. It is not without skill: it’s quite smooth, someone used her red and black scraps to make a nice alternating design, and the over-all effect is pleasing. So here is where I select my approach. I could chose to make it up, just as-is, but my feeling is that I wouldn’t really learn anything in the process. So I’ve opted to make these changes going forward:

Pattern: Only five pieces are present. I am electing to add a sixth because while I could expand the original five to accommodate my figure, I think that adding a panel will make a better fitting and more smooth final piece. Since I am adding a sixth, that will allow me to give more, later-era, definition to the waist, which I think this corset could benefit from.

Construction: I could use spiral steels or synthetic whale bone, but I’m going to go with the cording because I’d like to experience the full cording process, and keep to the original in that way. But I am opting to machine cord. I think the cords will be firmer, look tidier, and the work will be easier on my poor hands. Nothing will be gained by my forcing a tedious needle-pulling process except frustration and pain.

Color: I know it says “red-and-black” but the red cotton lasting has faded to a wonderful burnt orange, and that is what my heart desires.

Materials: Originally I was going to lay orange and black quilting cotton over a black coutil base, but I’m electing to save precious coutil and use strong cotton like the original. I have orange thread on order, and will be doing the charming contrast stitching as shown. The wood busk and chamois leather I already have on hand from a different, incomplete, project.

Trim: I found this black trim on Etsy right away, but my eye was pulled to far fancier black trims. I seriously debated upping the quality of the trim, but in the end, went with as close to the original as possible. This isn’t a fancy corset, and adding a figural Venise lace (leaves, flowers, cathedral windows) will look like I slapped a high-end lace onto a maid’s corset. I’m leaving off with fancy and going with as-is. Which leads to thoughts about lace, and what may have been available to a resourceful home-sewer in 1860. Note though, that Salen doesn’t state this corset was home-sewn, only that it is part of the Symington Collection kept by the company for study purposes. Also note that while I’m putting a 21st century thought process over a 19th century pattern, I still respect the original, and thank Jill Salen for bringing the pattern to the masses.

And now, to the work!

Ref.: Salen, Jill Corsets: Historical Patterns & Techniques, 2008.  ISBN: 978-0-89676-261-9

Popover Dress

I received Gertie’s new book I in the mail at beginning of summer, but only just got to it.

IMG_20190721_095113_287 (1)

The cover dress (the Popover dress) is darling, and I am in love, but I don’t think that the red hankie fabric will look as fetching on me as it does on her. And I love hankie fabric!! What to do?

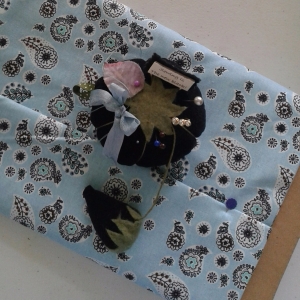
I wanted to try out the pattern, and keep the cost down as much as possible, so I turned to the few 3 + yard fabrics in my stash. And I found a pale blue bandanna fabric wrapped carefully on it’s board that I’d forgotten about!!! Happiness!

IMG_20190812_104457_846


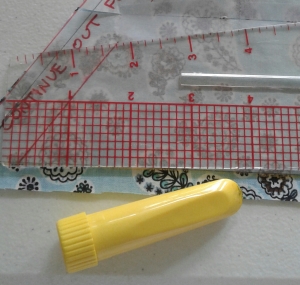
I decided to cut the largest size, even though I measure myself for the next size down, think it might run small. As I traced my pieces, I thought (wrongly) that the line that comes down from piece A2, I could just extend out, continuing a diagonal instead of cutting the entire patter out of tracing paper. I was wrong!

20190720_134615

How the heck was I supposed to know if I had extended the line moving out at the correct angle? There’s really no way to know, but at this point, I’d already cut one of the main dress pieces. Ouch! With the fabric opened out and re-folded the opposite way, it left me with not quite enough fabric to cut the second main piece. I did try to re-re-fold the fabric, back to the original length-wise fold, which made the shortage worse. That seemed odd to me, as the layout in the book has the two main pieces right next to each other, parallel, and I’d started out with a yard over the required fabric to make this dress. I measured, and sure enough, I only had 43” in fabric width, and I found 51” is needed for the pairs of A1 + A2. [¼ of the skirt’s hem equals 35”, and the width of the top, with that little self-facing extension, is about 16”. This width is needed to lay the two main pieces side-by-side, inverted, as the diagram on p. suggests.]

At this point, I decided to just piece the fabric, which made a mess, most of which was my fault. I wanted the dress done quickly, but haste makes waste, and here we are.


Recommendations

First: Trace & Cut according to correct bust size. I believe this pattern runs pretty true to finished measurements, and if anything, maybe a little bit big.

Second: Don’t be Lazy! Trace and cut the entire pattern out, and tape the pieces together correctly to avoid mistakes down the road. What are you going to save? 5 minutes and 2 pieces of tracing paper? It’s not worth the hassle in corrections and lost fabric.

Third: for extra, non-lazy bonus points, cut 2 of your main pieces, not just one, so you can lay them out next to each other. This will allow adjustment to some extent, rather than cutting one and realizing there’s no space on the fabric for the second.

Fourth: I ran my center seams both font and back, opposite of the way Gertie tells us to in the book. I wanted the little corner divot out of the way first, so I could run any accumulated ease right out of the hem, instead of any ease getting caught up in the pivot.

Fifth: I pre-marked my armseye facings by edge-stitching, pressing, and rolling up the hem first, then stitching it, then pinning it in, so that I didn’t have to fiddle with trying to get them good-looking while they were already attached to the dress. I tend to do as much as possible on the flat, which is good practice. Then, I tacked them to the main body with hand-stitching.

Sixth: I did as much or all of the front facings on the flat and pre-assembly. I also assembled and attached my pockets before stitching front to back. Flat is so much easier.

Seventh: Purchase a wider fabric if you are making up a larger size. For my second dress, I ordered 56″ Kona cotton.

Hacks:

Pockets: I turned my pockets into an envelope shape on top by squaring and lopping off the angles on the rounded edge. I have enough roundness to deal with in my life. I added little metal buttons to them. Please excuse dark stairwell picture.

20190814_183420

I raised the shoulders, and thus, the entire armscye up to right under my pits because I don’t want my bra showing, but I think I got them a little too high. I also have slopey shoulders so I had to slope the outer edges of the shoulder line down more.

Bows: I lined my bows with interfacing on one side, to make them a little more substantial. I think this was a good choice. I also tied them around my bra straps to keep my bra straps from showing, which is a great feature! The bows can be switched out, or left off so you won’t get weird bumps under your cardi.

20190723_144555

Time to make: 2 weeks of in-between work time. Sometimes I was falling asleep, and I wanted to sew more, but it just wasn’t possible. That’s when mistakes get made. Sadly, mistakes in sewing end up taking even more time to correct.

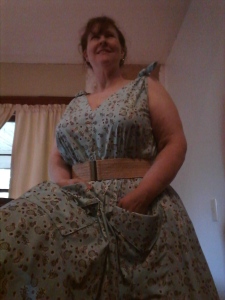
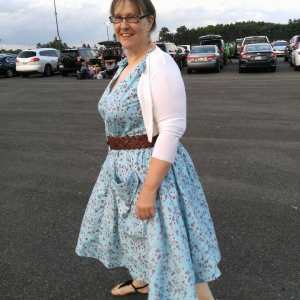
Where I wore it: I wore my Popover dress muslin to see Queen! At Xfinity Center in Boston with a light, ivory sweater, black sandals and a brown, purchased belt. Please pardon my flat hair;  my hair-do-time was devoted to stitching my facings to my bodice.

1565380630667 (1)

Make Again?: Yes! But probably not in handkerchief fabric. The Popover dress seems to look good on everyone, old, young, thick or thin. Also, that little attached facing is adorable. I’ve never seen that done before. Corset and crinoline recommended for shaping. In the above picture I’m wearing a crinoline, but no corset. The pockets are HUGE! Your could put kittens in there! They tend to hang like a kangaroo pouch which isn’t a particularly good look for me. I don’t think I’d make it with the pockets this way again, I’ll probably hide them in the side seams. But to their credit, in this pic, I’m carrying my cell phone, extra-special, mid-range-supporting ear plugs, my ID, and tissues so that I could cry over Brian May as he starts Now I’m Here. Queen fans, unite!!

“Begin anywhere.” ~ John Cage

With what you have, who you are, where you are. Now. Don’t doubt that it is terrifying, but that is all there is to work with.

In Process Ophelia's Chamber

Website Powered by WordPress.com.

Up ↑